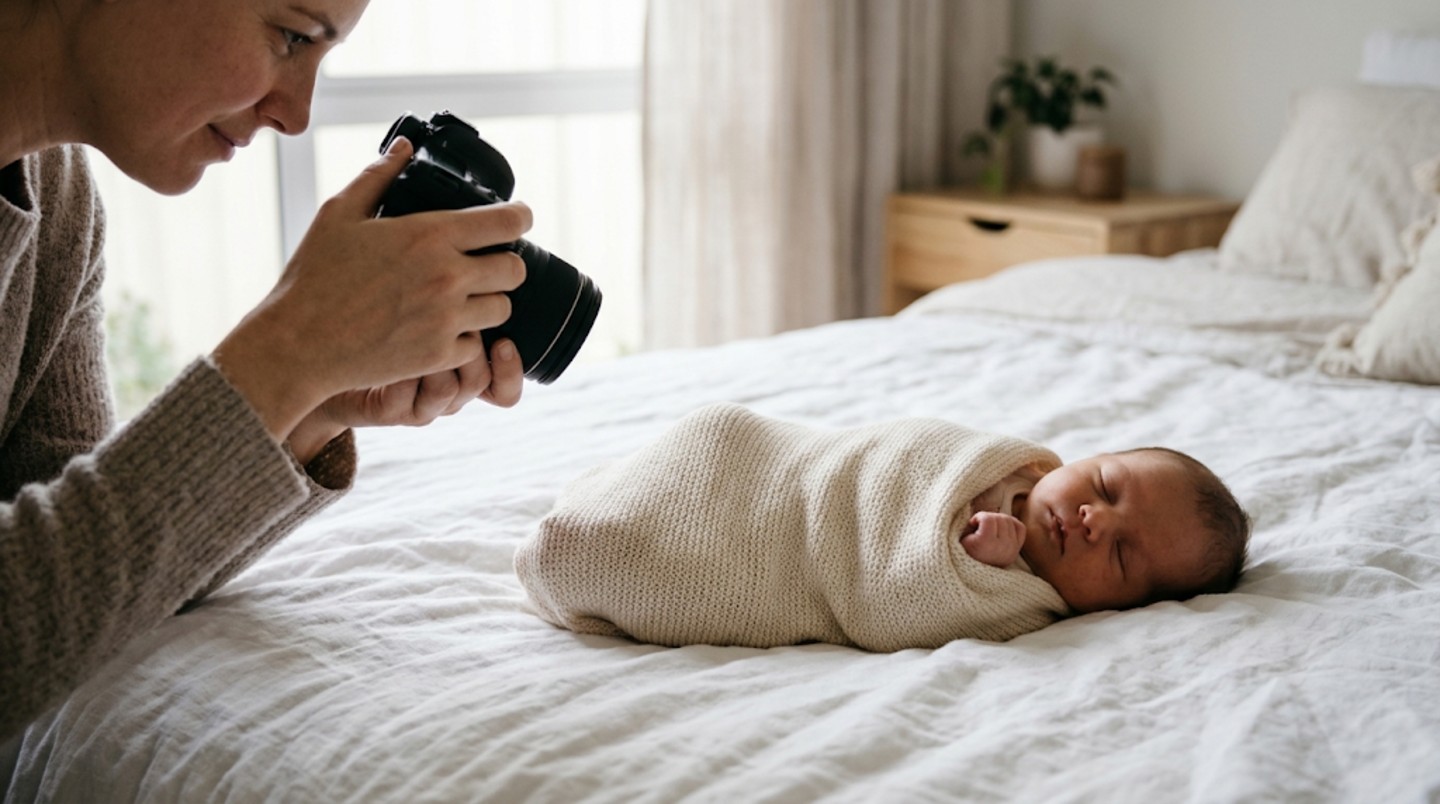
A newborn changes fast. The tiny curled fingers, the sleepy stretches and the wrinkly feet are only around for a few weeks. That is why so many parents want photos of those first days, and why more of them now choose to take those photos at home, either on their own or with a photographer who comes to the house.
The family site Times Bay has a practical list of tips for getting the best newborn photos. It covers timing, comfort, safety, light, props, angles, patience, emotion and editing. In this article, we turn that Times Bay advice into a simple checklist and add a storyteller's view: how to use the same habits a documentary photographer uses to capture real moments, not just posed pictures.
1. Get the Timing Right
Times Bay recommends shooting in the first two weeks, ideally between days five and ten. Babies at this age sleep deeply and curl up naturally, which makes them easier to photograph. If you miss that window, do not worry. Older babies are just as lovely, they are simply more awake, so plan for more "eyes open" photos.
2. Make the Room Warm and Calm
A comfortable baby is a sleepy baby. Warm the room a little more than usual, especially if the baby will be wearing only a diaper or wrapped in a blanket. Times Bay also suggests gentle background sound. A white noise machine or a soft fan can help the baby stay asleep through the clicks and movement.
3. Put Safety First, Always
This is the most important point on the list. Keep poses natural and supported, and always have a second adult within arm's reach. Never place a baby on a high surface, in a basket or in a prop without full support. The dramatic poses you may see online, such as a baby resting their chin on their hands, are often made by professionals who combine two or more photos while a parent holds the baby. At home, keep it simple: the baby lying on a bed, in a parent's arms or on a soft blanket on the floor.
4. Feed and Burp Before You Start
Times Bay advises feeding and burping the baby just before the session and working around their sleep schedule. A full tummy usually means a deep sleep, which gives you more time for calm shots. Expect to stop for feeds and diaper changes. That is normal, and it is part of the story.
5. Use Soft Window Light
Natural light is the secret to beautiful newborn photos. Choose the room with the biggest window and place the baby a few feet away from it, with the light coming from the side. Avoid direct sun, which is harsh, and skip the flash, which can startle the baby and flatten the image. Turn off overhead lights so the colors stay soft and true.
6. Keep Props Simple and Meaningful
Times Bay suggests muted fabrics and a few meaningful keepsakes. A plain knit wrap, a soft blanket from a grandparent, the parents' wedding rings or a favorite stuffed toy can all add personal meaning. Too many props pull attention away from the baby.
7. Tell a Story With Different Angles
This is where a journalist's eye helps. In photojournalism, the goal is to tell a true story with a sequence of images. You can do the same at home:
- Close-ups: eyelashes, tiny fingers around a parent's thumb, wrinkly toes.
- Medium shots: the baby in a parent's arms, a sibling giving a first kiss.
- Wide shots: the whole nursery, the family on the bed, the dog watching closely.
This relaxed, real-life approach is often called lifestyle photography. It focuses on moments as they happen rather than carefully staged poses, which makes it a perfect fit for home sessions.
8. Be Patient and Let Moments Happen
Times Bay reminds parents to allow breaks and let unscripted moments unfold. Some of the best photos happen between the planned shots: a yawn, a stretch, a parent laughing at a tiny sneeze. Keep the camera ready and stay calm. Babies pick up on stress.
9. Focus on Emotion and Connection
Include the people and pets who make up the baby's world. A big brother's proud face or a grandmother's hands can say more than any perfect pose. Look for touch: hands, cheeks, foreheads resting together.
10. Edit With a Gentle Hand
The last Times Bay tip is to edit with care. Adjust brightness and color lightly, and keep the baby's natural skin texture. Newborn skin often has redness or tiny spots in the first weeks, and that is part of the moment you are recording.
Your Quick Newborn Photo Checklist
- Session planned for the first two weeks, if possible
- Room warmed, white noise on
- Second adult always within reach
- Baby fed, burped and drowsy
- Large window, side light, no flash
- Two or three simple, meaningful props
- Close, medium and wide shots
- Family and pets included
- Light, natural editing
Capture the Story, Not Just the Pose
Newborn photos do not need a studio or expensive gear. With good timing, soft light, safe handling and a storyteller's patience, you can record the first days of a new life at home. Use the tips from Times Bay as your checklist, then let real moments do the rest.